


You can master sewing microsuede without puckering or stretching when you use the right preparation and techniques. Many beginners find the fabric thick and unwieldy. You need to cut with the nap for best results. Pressing seams neatly helps you achieve a professional finish. Wonder Clips prevent damage to your fabric.
Sewing Microsuede Without Puckering or Stretching
Choose the right tools, like Microtex needles and heavy-duty polyester thread, to ensure clean stitches and strong seams.
Always cut microsuede with the nap direction consistent to achieve a uniform look and prevent visual distortion.
Stabilize seams with interfacing and use a walking foot to avoid puckering and stretching during sewing.
Challenges of Sewing Synthetic Suedes

Why Microsuede Puckers or Stretches
When you work with sewing synthetic suedes, you often notice puckering or stretching along the seams. This happens because synthetic fibers, especially in microsuede, have a high degree of flexibility. You may find that the fabric stretches more than natural suede, which can make it easier to sew around curves but also increases the risk of distortion.
Tip: Always handle the fabric gently to avoid unwanted stretching.
Here is a comparison to help you understand the difference:
Type of Suede | Stretch Characteristic | Suitability for Sewing |
|---|---|---|
Synthetic Suede | High | More flexible, suitable for curves and grooves |
Natural Suede | Low | Less flexible, more challenging for complex shapes |
Synthetic suede, especially stretch varieties, allows for easier sewing on curved seams. However, this flexibility can lead to puckering if you do not stabilize the fabric or adjust your machine settings.
Understanding Fabric Structure and Nap
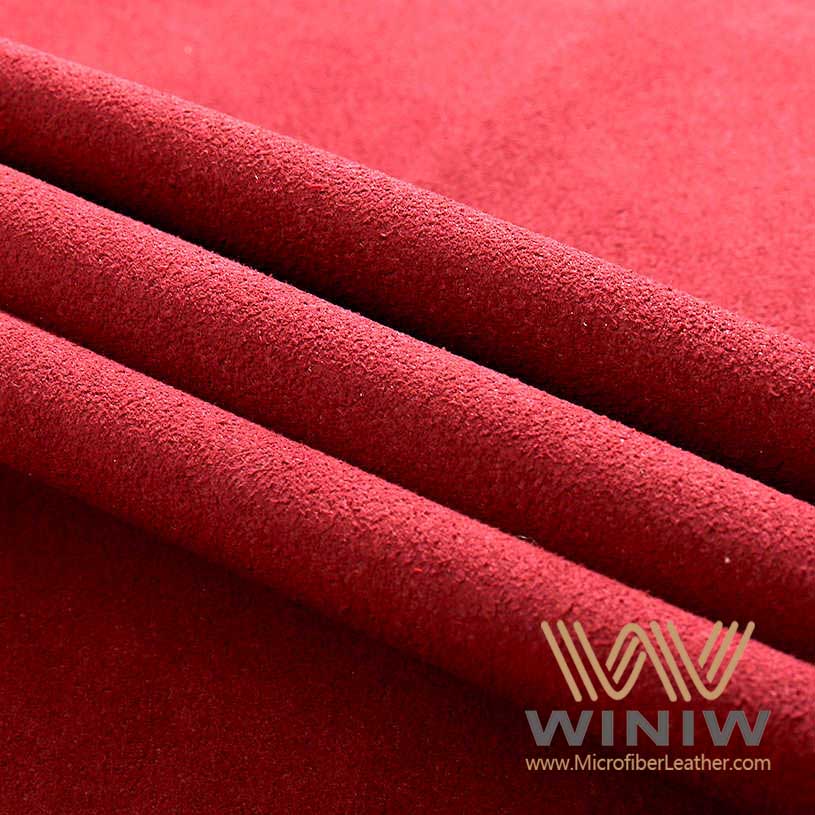
Microsuede is made from ultra-fine synthetic fibers like polyester or nylon. These microfibers are much finer than those in traditional fabrics. The softness and drape of microsuede come from this fine structure, but it also makes the fabric delicate and sometimes tricky to control during sewing. You may experience skipped stitches, seam slippage, or puckering because the high surface area of the fibers affects how the fabric feeds through your machine.
The nap, or the direction of the fibers, also plays a role. When you cut and sew synthetic fabrics with a nap, you need to keep the direction consistent for a uniform look. The durability of microsuede stands out among synthetic fabrics. It resists wear, stains, and water, making it a popular choice for upholstery and garments.
You face these challenges when sewing synthetic suedes, but with the right techniques, you can achieve smooth, professional results. The next section will guide you through each step to help you overcome these obstacles.
Sewing Microsuede: Step-by-Step Guide
Tools and Needle Selection
Choosing the right tools makes sewing microsuede much easier. You should select needles designed for delicate fabrics. Microtex needles work well because they create clean, precise holes and help prevent puckering. For thicker micro suede, leather or denim needles offer extra strength and reduce skipped stitches. Heavy-duty thread provides durability and keeps seams secure. Polyester thread resists stretching and matches the flexibility of synthetic fibers.
Microtex needles for delicate synthetic fabrics
Leather or denim needles for thicker micro suede
Heavy-duty polyester thread for strong seams
A Teflon foot or walking foot helps the fabric glide smoothly under the needle. These feet prevent sticking and dragging, which often happens with synthetic suede.
Preparing and Stabilizing the Fabric
Before you start sewing microsuede, you need to prepare the fabric. Wash micro suede according to the care label to remove any finishes or residues. Dry the fabric flat to avoid stretching. Stabilize areas that need extra support, such as necklines and shoulder seams. Use fusible or sew-in interfacing for these sections. Heavier interfacing works best for synthetic micro suede because it prevents distortion and keeps shapes crisp.
Stay stitching along curved edges helps maintain the shape and prevents stretching. Add ribbon or interfacing to shoulder seams for extra stability. Masking tape works well for attaching patterns without puncturing the fabric. This keeps layers aligned and avoids permanent holes.
Cutting with the Nap
Cutting micro suede requires attention to the nap. The nap affects the final look of your project. Always cut all pattern pieces in the same direction to maintain consistency. Use sharp scissors or a rotary cutter for clean edges. For micro suede with a longer nap, cut from the wrong side using an Xacto-knife to minimize shedding.
All suedes have nap, meaning that the shading changes depending on the fabric’s direction. Nap going up creates a darker look, while down-facing nap creates a lighter coloration. Choose one and stick with it for the entire project. Mark chalk arrows on the fabric wrong side to show the direction.
This step ensures your synthetic micro suede project looks professional and uniform.
Machine Setup (Stitch, Tension, Presser Foot)
Setting up your sewing machine correctly is essential for sewing microsuede. Adjust the presser foot pressure to allow even feeding of synthetic fabrics. Use an even feed or roller presser foot to prevent shifting or creeping. Loosen the upper thread tension for balanced stitches.
Recommendation | Description |
|---|---|
Decrease presser foot pressure | Allows for even feeding of synthetic suede fabrics. |
Use an even feed or roller foot | Helps prevent fabric shifting or 'creeping'. |
Loosen upper thread tension | Ensures a balanced stitch for better sewing quality. |
Test your stitches on a scrap piece of micro suede before starting your project. This helps you find the best settings and reduces mistakes.
Sewing Techniques to Prevent Puckering and Stretching
You can avoid puckering and stretching by using the right sewing techniques. Stay stitching along curved edges keeps the shape intact. Stabilize shoulder seams with ribbon or interfacing to prevent stretching from wear. Topstitching adds durability and keeps seam allowances flat. It also enhances the structure and appearance of your micro suede project.
Stay stitching for curved edges
Shoulder stabilization with ribbon or interfacing
Topstitching for durability and a polished look
Avoid backstitching on synthetic micro suede. Instead, use lock stitches or tie off thread ends to prevent damage. Masking tape helps keep layers aligned during sewing. Always test your stitches on scrap fabric before sewing microsuede seams.
Pressing and Finishing Seams
Pressing micro suede seams requires care. Avoid ironing directly on the pile. Apply heat to the back of the fabric instead. Use medium heat without steam to soften and smooth the fabric. This method prevents unwanted sheen or markings. High heat can damage synthetic micro suede and make it difficult to achieve crisp edges.
Method | Recommendation |
|---|---|
Ironing | Avoid if possible |
Steaming | Test on a swatch to see how the pile reacts |
Fusible interfacing | Use sew-in instead; heavier interfacing recommended |
HTV | Unlikely to be effective |
General advice | Apply heat to the back, not the pile directly |
Topstitching after pressing helps keep seam allowances flat and adds a decorative touch. This step improves both the durability and appearance of your synthetic micro suede project.
Troubleshooting and Sewing Tips
If you encounter problems while sewing microsuede, try these solutions. Use a non-stick or Teflon foot to prevent drag and skipped stitches. Always test stitches on scrap micro suede to find the best machine settings. Avoid backstitching; use lock stitches or tie off thread ends instead. Masking tape helps attach patterns and keeps layers aligned without puncturing the fabric.
Use a non-stick or Teflon foot for sticky synthetic micro suede
Test stitches on scrap material before starting
Avoid backstitching; use lock stitches or tie off ends
Use masking tape for pattern placement and alignment
For finished micro suede projects, clean stains with mild dish soap and warm water. Deep clean periodically and check care labels for instructions. Machine wash on a gentle cycle with cold water and mild detergent, using a mesh bag. For hand washing, soak in cold water with detergent. Apply fabric protector spray to prevent spills and stains. Keep items out of direct sunlight to avoid fading. Rotate them in high-traffic areas to distribute wear. Remove wrinkles with a handheld steamer or the steam setting on an iron, keeping it a few inches away from the fabric.
You can achieve professional results with these sewing tips and techniques. Practice and experiment with synthetic micro suede to build your confidence and skills.
You can sew microsuede without puckering or stretching by following these steps:
Use a walking foot for even feeding.
Stabilize seams with tissue paper.
Press seams with steam.
Add lightweight interfacing to hems.
Many beginners achieve professional results with these sewing tips. Practice often. You will gain confidence and enjoy sewing synthetic suedes.

FAQ
What needle works best for sewing microsuede?
You should use a Microtex or ballpoint needle. These needles prevent skipped stitches and reduce fabric damage.
How do you stop microsuede from puckering?
Try lowering your thread tension. Use a walking foot. Stabilize seams with lightweight interfacing or tissue paper.
Can you iron microsuede safely?
Ironing Method | Recommendation |
|---|---|
Direct Heat | Avoid |
Steam | Use gently, test first |
