


You can achieve a professional result with this guide, even if you are new to headliner diy projects. Many people face issues such as misaligned fabric or messy adhesive. Using the right materials and following each step helps you avoid these mistakes when working with Headliner Black Suede.
How to install a black suede headliner in your car without making mistakes
aysGather all necessary tools and materials before starting. This preparation ensures a smooth installation and a professional-looking result.
Apply adhesive carefully and allow it to become tacky before attaching the fabric. Rushing this step can lead to air bubbles and wrinkles.
Take your time when wrapping the fabric around the board. Smooth from the center outward to eliminate air bubbles and achieve a neat finish.
Headliner Black Suede Prep
Tools and Materials
Before you start, gather all the necessary tools and materials for a smooth installation. Using the right supplies ensures your headliner black suede project looks professional and lasts for years. Here is what you need:
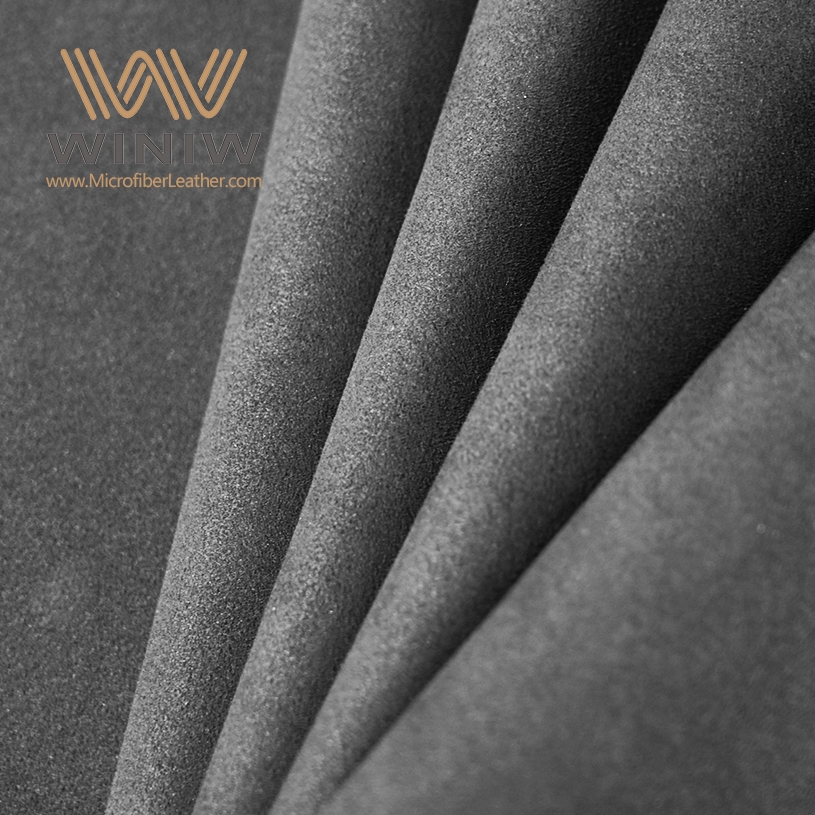
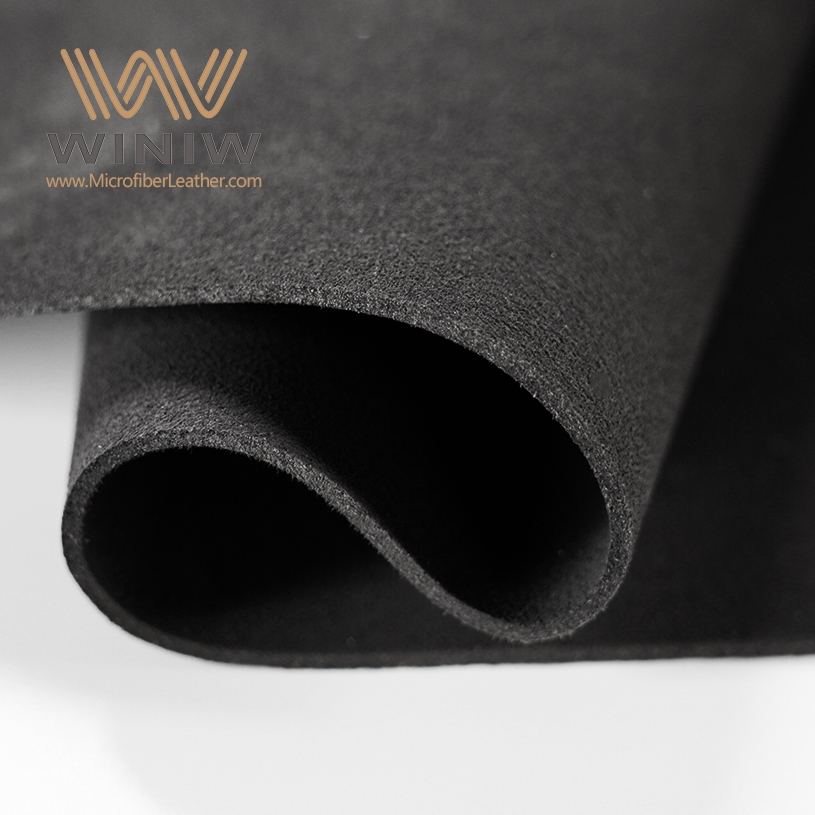
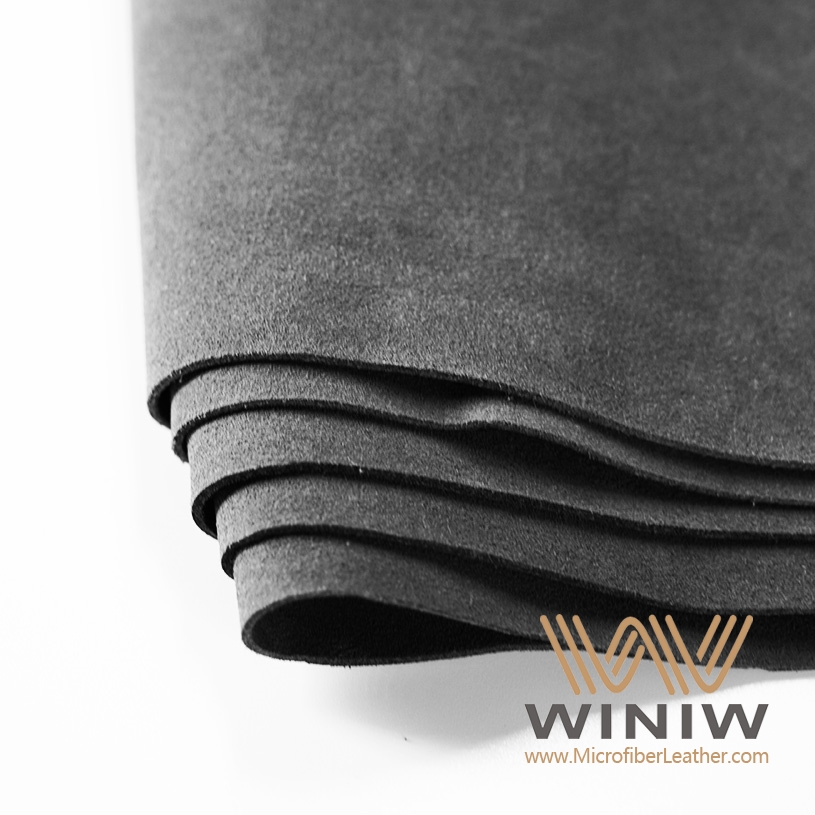
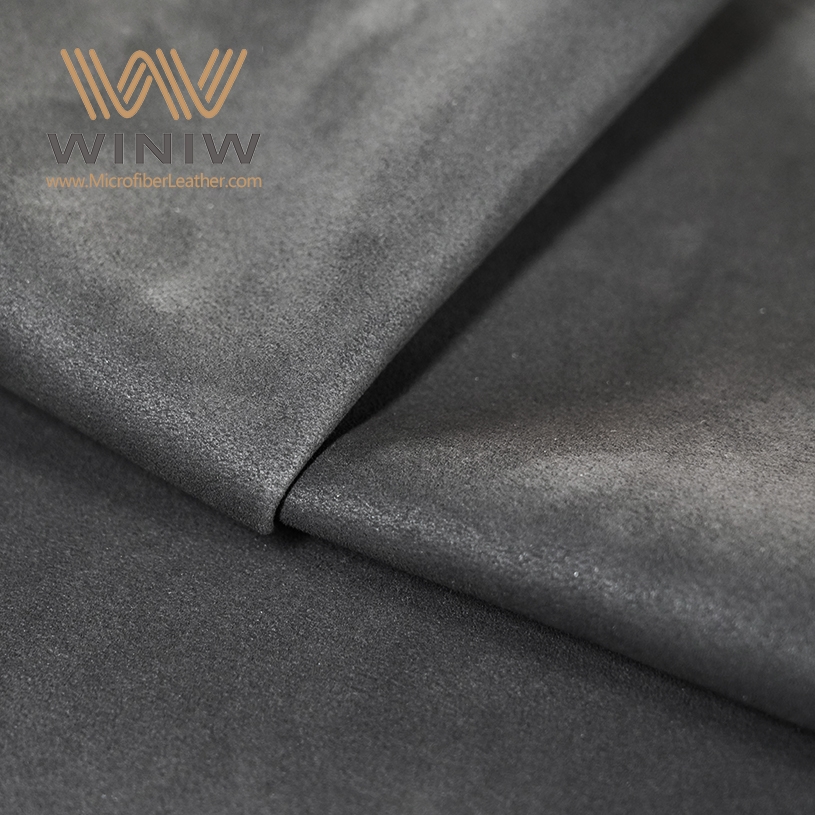
High-quality headliner black suede fabric, such as Synergy - Onyx Black Suede, with a 1/8" foam backing. This type is sold by the yard and stretches easily.
DAP Weldwood contact cement, known for its heat resistance and strong bond. You can also use 3M 90 spray adhesive, but apply it carefully because it bonds instantly.
Acetone or xylene for cleaning sticky residue and your tools.
Gloves and safety glasses for protection.
Workspace Setup
Prepare your workspace before working with headliner black suede. Clear out the vehicle’s interior to prevent damage and give yourself room to work. Fold down the seats and remove any A-pillar covers. Always disconnect the car battery to avoid electrical issues. Wear gloves and safety glasses to protect yourself from sharp edges and debris. Open the doors or windows for ventilation, especially when using adhesives. Place protective covers on surfaces to prevent stains or scratches.
Tip: Good preparation helps you avoid mistakes and keeps your headliner black suede clean during installation.
Remove Old Headliner
Start by removing the old headliner to create a smooth base for your new headliner black suede. Follow these steps:
Remove all plastic trim panels along the ceiling’s front, rear, and sides.
Find the seam where the headliner board meets the edge of the vehicle.
Gently pull down the board from one corner, taking care not to bend it.
Once free, slide the board out through the hatchback or a side door.
Inspect the board for damage and decide if it needs repair or replacement.
Use a wire brush to scrape away any old foam residue. For stubborn spots, apply acetone or xylene to dissolve sticky material. Clean the board thoroughly so the new headliner black suede adheres perfectly.
Headliner Install Steps
Prep Headliner Board
Begin your headliner install by preparing the board. After removing the old material, check the surface for any bumps or leftover foam. Use a wire brush to remove every bit of old foam. If you skip this step, you may see bumps or irregularities in your completed headliner. A smooth and flat board is essential for a professional finish.
If your car uses a hard-backed headliner, mark and drill any necessary holes before you move forward. Use a pencil to outline the locations for lights, visors, and handles. Double-check your marks to avoid mistakes during the suede headliner install guide. This careful prep ensures your black suede headliner fits perfectly and looks seamless in your car interior.
Apply Adhesive
The next step in your headliner install is applying adhesive. Choose a high-strength spray adhesive or contact cement designed for automotive use. Always work in a well-ventilated area to protect your health and achieve the best results.
Apply adhesive to both the headliner board and the back of your suede headliner fabric. Work in small sections to keep the glue from drying too quickly. Allow the adhesive to become tacky before you attach the fabric. Rushing this step can cause improper bonding, which leads to air bubbles, wrinkles, and a less durable suede headliner. Take your time to ensure a strong, even bond that will last for years.
Tip: Use a soft brush or roller to spread the adhesive evenly. This helps prevent lumps and keeps your headliner install smooth.
Wrap with Suede Headliner
Now you are ready to wrap the board with your suede headliner. Lay the fabric over the adhesive-coated board, starting from the center. Smooth the fabric outward with your hands or a smoothing tool. This technique pushes out air bubbles and prevents wrinkles.
Leave 2 to 3 extra inches of fabric around the edges. This extra material makes it easier to wrap and tuck the suede headliner for a clean finish. Mark any openings for lights or visors lightly on the back of the fabric before cutting. Only trim the excess material after you have secured the main surface.
Take your time during this step to avoid jagged edges or uneven cuts.
Maintain steady pressure as you fit the fabric to the board.
Wrap and tuck the extra fabric around the edges, securing it with adhesive.
Pay special attention to corners and cutouts for a neat appearance.
If you spot wrinkles or bubbles, gently lift the fabric while the adhesive is still tacky and smooth it out before pressing it back down.
A careful approach during this part of the headliner install guide ensures your suede headliner looks flawless and feels secure.
Reinstall and Finish
After you finish wrapping, let the adhesive dry completely. This step is crucial for a long-lasting suede headliner install. Once dry, carefully lift the completed headliner and slide it back into your car. Align the board with the ceiling and secure it using the original fasteners.
Check that the fabric fits snugly around all cutouts for lights, visors, and handles. Reinstall the trim panels and A-pillar covers. Take your time to avoid damaging the new suede headliner or your car interior. A slow, steady approach helps you achieve a professional look and a completed install you can be proud of.
Note: Allow the adhesive to cure fully before exposing your car to heat or moisture. This step protects your suede headliner and keeps it looking new.
Avoiding Mistakes
Many diy enthusiasts make common errors during a headliner install. You can avoid these mistakes by following a few simple rules:
Always remove all old foam before you start. Any leftover foam can cause bumps and ruin the appearance of your completed headliner.
Do not rush the adhesive application. If you hurry, you risk improper bonding, which leads to air bubbles, wrinkles, and a short-lived suede headliner.
Work in a well-ventilated area and avoid using too much adhesive. Excess glue can create lumps and make your headliner install look messy.
Smooth the fabric from the center outward. This method helps eliminate air bubbles and wrinkles.
If you see wrinkles, gently lift the fabric and reapply it while the adhesive is still tacky.
Watch install guide videos if you feel unsure about any step. Visual aids can help you avoid costly mistakes and improve your diy skills.
By following these tips, you can replace the headliner in your car with confidence. Your new black suede headliner will transform your car interior and give you a completed install that looks and feels professional.
You can achieve a flawless black suede headliner by following each step carefully. Use high-quality materials for long-term benefits:
Benefit | Description |
|---|---|
Enhanced Comfort and Durability | Durable, stain-resistant, and comfortable for all climates. |
Non-toxic fabric keeps your car safer and healthier. |
Double-check these important steps for success:
Wait for adhesive to dry.
Trim excess fabric carefully.
Handle the board gently.
Watch for airbags during install.
Patience and attention to detail help you enjoy a professional result. Watching instructional videos can boost your confidence.

FAQ
How long does it take to install a black suede headliner?
You can install a black suede headliner in about three to four hours. The time depends on your experience and how carefully you follow each install step.
Can you install a suede headliner without removing the board?
You should always remove the board before you install a new headliner. This method gives you better access and helps you install the fabric smoothly.
What is the best adhesive to use for a suede headliner install?
You should use DAP Weldwood contact cement or 3M 90 spray adhesive for your install. These adhesives create a strong bond and help you install the fabric securely.
Tip: Always test your adhesive on a small area before you install the entire headliner.
For a successful install, follow each step and check your work as you go.
If you want a professional result, install the fabric slowly and avoid rushing.
