


You want your car interior to look and feel premium, and a suede headliner install can make a big difference. This guide gives you a simple, clear step for tackling this diy project. Preparation matters most. Using quality Headliner Suede Fabric and the right tools will help you avoid frustration and wasted time. Many diy enthusiasts rush the process or use low-quality materials, and that leads to poor results.
Take your time and follow each guide carefully.
Some of the most common mistakes include:
Using low-quality materials
Not securing the headliner properly
Not allowing enough drying time
You can avoid these pitfalls with patience and attention to detail. Anyone can achieve a smooth, professional finish with this guide.
how to install suede headliner fabric in your car step by step
Preparation is key. Gather all necessary tools and materials before starting your suede headliner project to ensure a smooth installation.
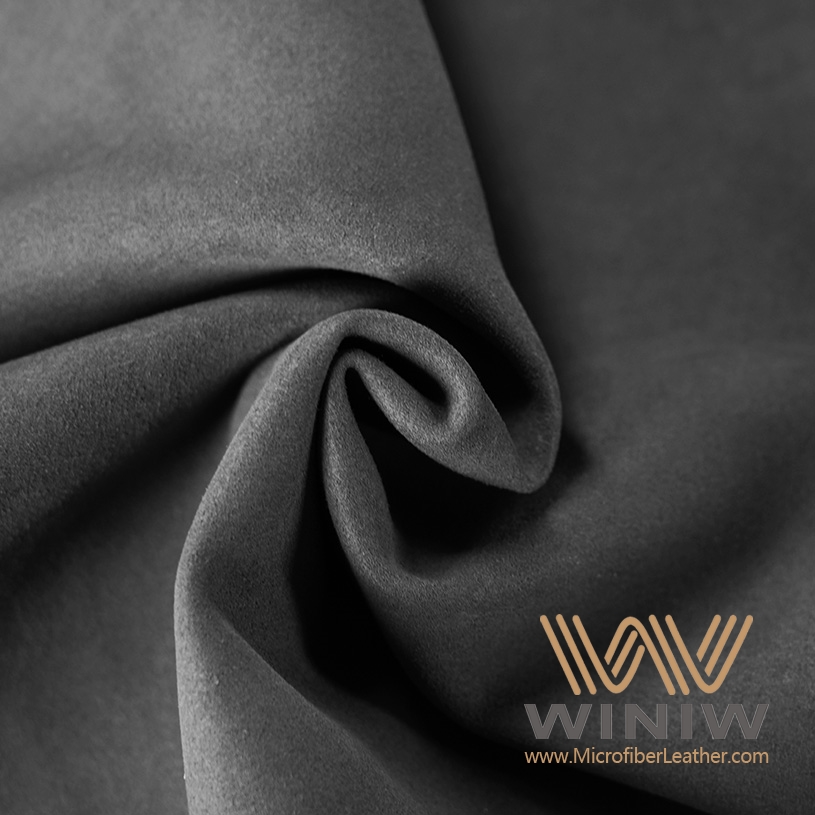
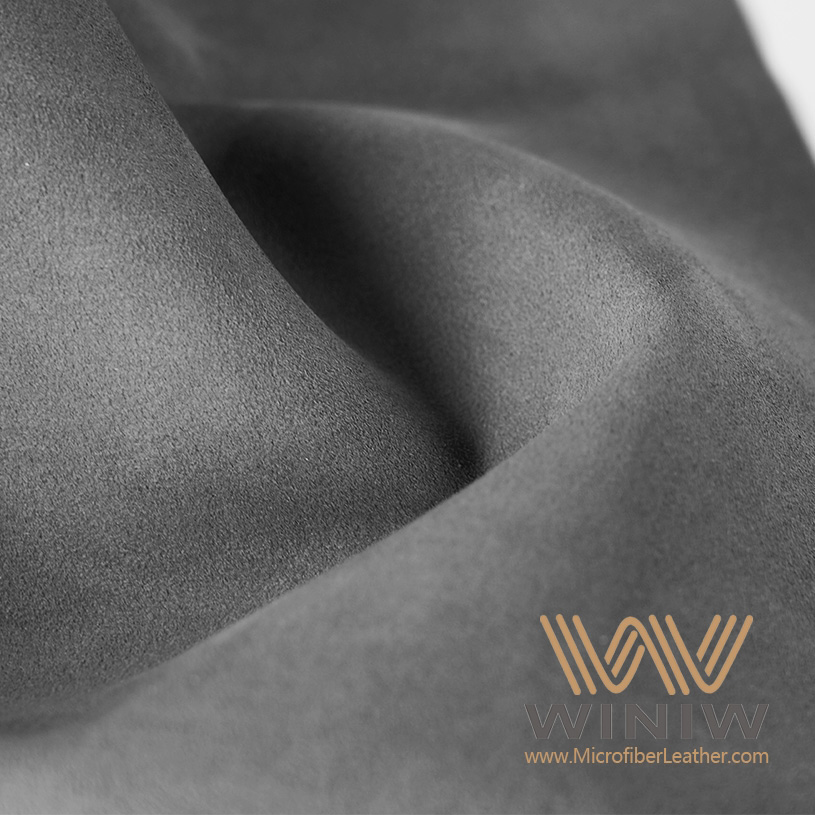
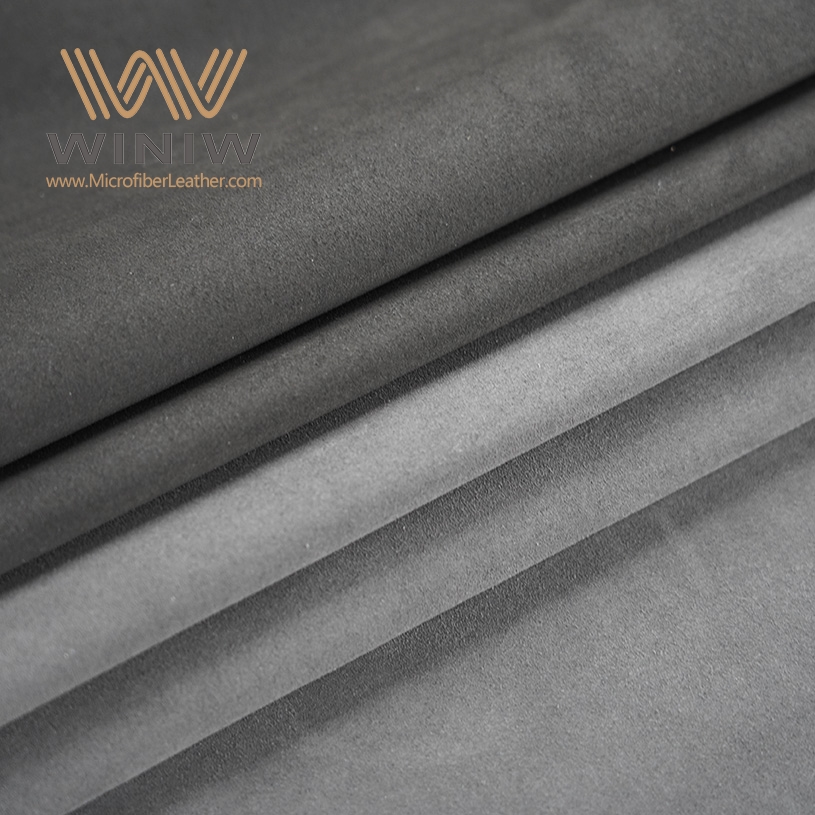
Choose high-quality suede fabric. Look for options with UV resistance and foam backing to enhance durability and ease of installation.
Take your time during the installation. Rushing can lead to mistakes, so follow each step carefully for a professional finish.
Clean the headliner board thoroughly. Removing old fabric and dust ensures the new adhesive bonds well, leading to a long-lasting result.
Inspect your work after installation. Check for any loose spots or bubbles and address them immediately to maintain a polished look.
Tools and Headliner Suede Fabric
Tools Checklist
Before you start your project, gather all the necessary tools. Having the right equipment will make your headliner suede fabric installation much smoother. You will need:
A set of screwdrivers for removing trim and panels
A trim removal tool to avoid damaging your car’s interior
A utility knife or sharp scissors for cutting fabric
A wire brush or sandpaper to clean the headliner board
Professional quality spray adhesive for a strong bond
A roller or smoothing tool to lay down the fabric evenly
Picks or small tools for working fabric into corners
Gloves to keep your hands clean and protect the fabric
Tip: Organize your tools before you begin. This helps you avoid searching for items mid-project.
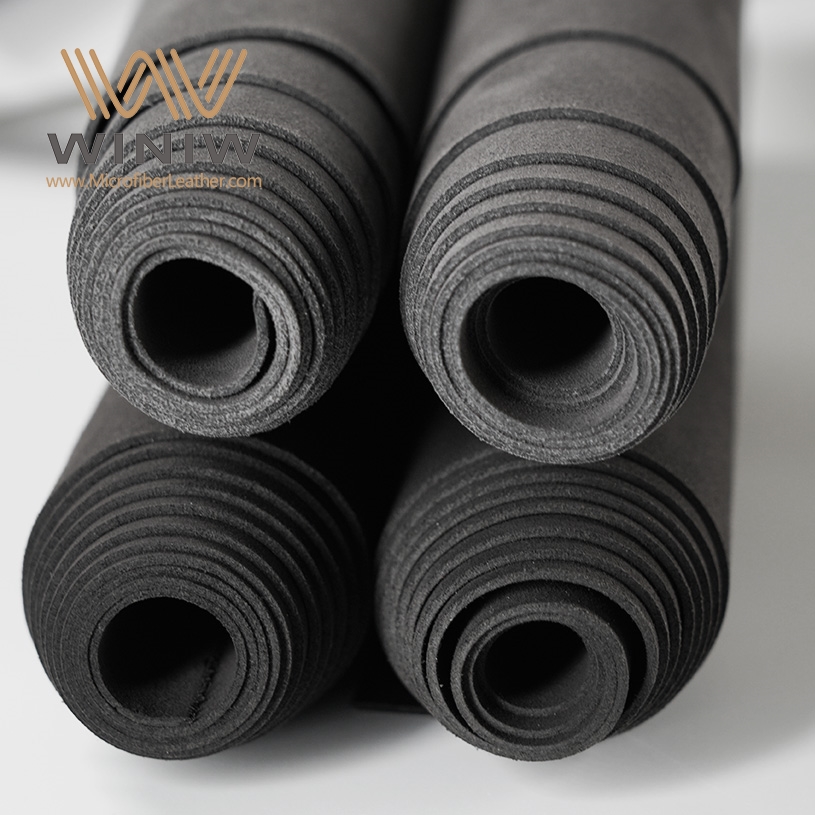
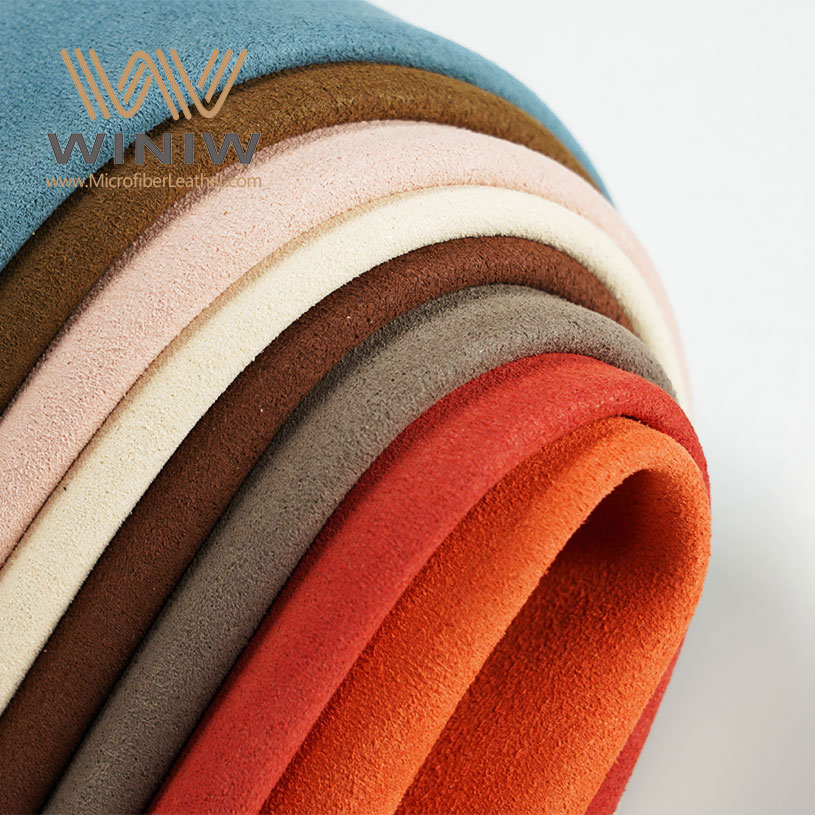
Choosing Headliner Suede Fabric
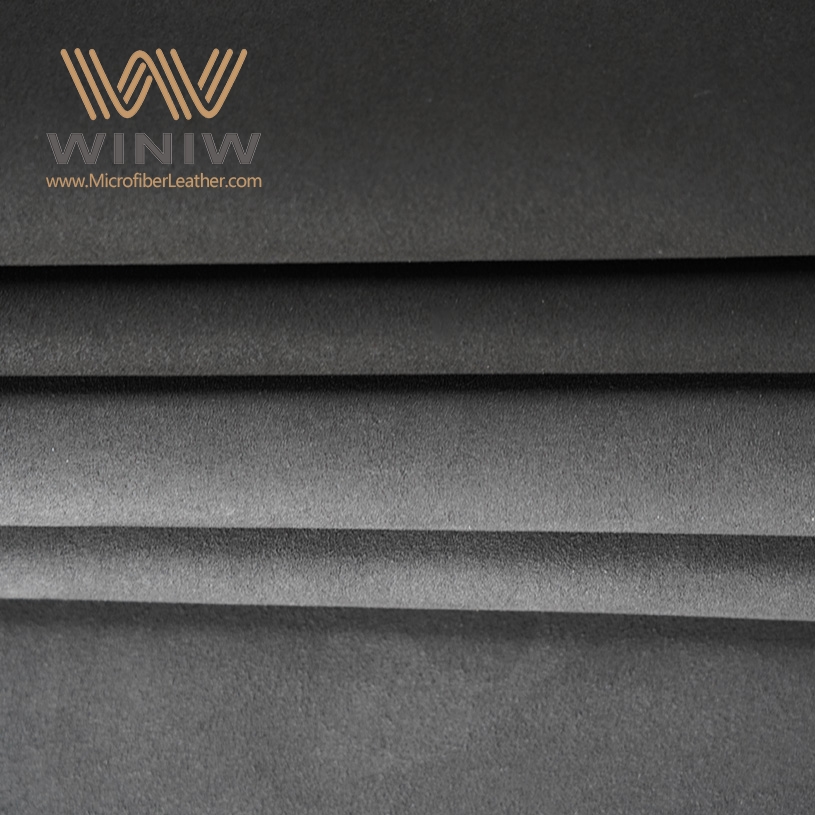
Selecting the right headliner suede fabric is crucial for a professional finish. Look for options that offer both durability and ease of installation. Many users recommend fabric with UV resistance and foam backing. These features help the material last longer and make installation easier. Some users mention that suede requires regular grooming to maintain its appearance, and imperfections can show easily.
Here is a comparison of popular choices:
Brand/Type | Fiber Content | Color | Width | Thickness | Uses |
|---|---|---|---|---|---|
Char Black Automotive Suede Headliner | 100% Polyester | Char Black | 60" | 1/8" (Foam Backed) | Automotive Headliner Replacement |
Dynamic Global Black Automotive Suede | Microfiber Poly Synthetic | Black | N/A | N/A | Various Automotive Interior Applications |
Passion Suede Black | 100% Polyester | Black | N/A | 8 oz. | Home Upholstery, Moderate Commercial Applications |
Choose a headliner suede fabric that matches your car’s interior and meets your durability needs.
Where to Get Materials
You can find high-quality headliner suede fabric and installation kits both online and in stores. Automotive Interiors offers a wide selection of suede headliner replacement fabric and kits for cars and trucks. Prices for materials vary. You might spend between $70 and $200 for the suede material alone. Some users have completed the job for as little as $44, while others report total costs up to $400, depending on the fabric and tools you select.
Note: Always check that your chosen headliner suede fabric has foam backing and UV resistance for the best results.
Remove Old Headliner
Prep Car Interior
Start by preparing your workspace. Move the front seats back and recline them to create more room. Fold down the rear seats if possible. This gives you better access to the headliner area. Disconnect the car battery before you begin. This step prevents electrical mishaps when you remove lights or other electrical components.
Next, remove any items that might get in the way. Take out the rear seat light, sun visors, sun visor clips, and any overhead lights. Remove all four hand grabs. Loosen the driver's side sun visor. If your car has a sunroof, follow the specific removal process for the sunshade. Use a trim removal tool to gently pry off the A-pillar covers and any trim pieces above the doors. Handle all panels with care to avoid breaking clips or damaging the interior.
Tip: Place all screws and small parts in labeled containers. This helps you keep track of everything for reinstallation.
Take Out Headliner Board
Once you have cleared the area, carefully lower the headliner board. Gently pull it away from the roof, starting at one end. The board may feel fragile, so support it with both hands as you work. If you encounter resistance, check for hidden fasteners or clips. Avoid bending or creasing the board, as this can cause permanent damage.
Lay the headliner board on a clean, flat surface. A table or a pair of saw horses works well. Place a tarp or drop cloth underneath to catch any debris from the old foam backing.
Always handle the headliner board with care.
Avoid using excessive force when removing trim or the board itself.

Mark and Drill Holes
Before you remove the old fabric, take a moment to mark all necessary holes and cutouts on the headliner board. Use a marker to outline spots for lights, handles, and sun visors. If you need to drill new holes for accessories or wiring, do this now. Making these marks before applying new fabric ensures proper alignment during reinstallation.
Note: Double-check your markings for accuracy. Proper alignment saves time and prevents mistakes later.
You have now completed the removal process. The headliner board is ready for cleaning and new fabric installation.
Clean and Prep Board
Strip Old Fabric
You need to remove every bit of the old headliner fabric before you can install the new suede. Start by gently peeling the fabric away from the board. Use your hands to lift the edges and pull slowly. If the fabric sticks, use a utility knife to help separate it. Work carefully to avoid damaging the board underneath.
Most headliner boards have a layer of foam backing. Over time, this foam breaks down and turns into dust. Use a wire brush or a stiff-bristled brush to scrub away all the loose foam. Move the brush in small circles to lift the debris. You can also use a vacuum cleaner to pick up the dust as you go. Make sure you reach every corner and edge. Any leftover foam will prevent the new adhesive from sticking properly.
Tip: Wear gloves and a mask during this step. Old foam can create a lot of dust, and you want to protect your hands and lungs.
Clean Surface
Once you have stripped the old fabric and foam, you must clean the headliner board thoroughly. A clean surface helps the new suede fabric bond well and last longer. Use a damp cloth to wipe away any remaining dust or particles. Let the board dry completely before moving on.
To clean the headliner board, remove the old material, brush away crumbling foam, and wash the cloth in hot water with laundry soap to eliminate any surfactants that could interfere with adhesive bonding.
Check the board for any sticky spots or leftover adhesive. If you find any, use a small amount of rubbing alcohol on a cloth to wipe them away. Avoid soaking the board, as too much moisture can cause warping. Inspect the board for cracks or damage. If you see any, repair them with a small amount of glue or filler and let it dry.
A smooth, clean board gives you the best chance for a flawless suede headliner installation. Take your time with this step, and your results will look professional.
Suede Headliner Install Guide
A successful suede headliner install depends on careful preparation and following each step in this install guide. You will achieve a professional result if you use high-quality stretch suede and pay attention to detail. This install guide will walk you through every part of the process, from cutting the fabric to finishing the edges.
Cut Suede Fabric
Start by laying your suede fabric flat on a clean surface. Place the headliner board on top of the fabric. Make sure you leave at least 2–3 inches of extra material around all sides. This extra fabric will help you wrap the edges securely during the install.
Use sharp scissors or a utility knife for clean cuts.
Double-check the orientation of the suede before you cut.
Mark any holes or cutouts for lights, handles, or sun visors on the back of the fabric.
Tip: Work slowly and measure twice before you cut. Stretch suede fabric makes the install guide easier to follow and helps you avoid mistakes.
When you cut the fabric, keep these techniques in mind:
Always cut on a flat, stable surface.
Use a straightedge or ruler for long cuts.
Avoid pulling or stretching the suede as you cut.
This step in the install guide ensures your suede headliner install fits perfectly and looks seamless.
Apply Spray Adhesive
Choose a high-quality spray adhesive, such as 3M Super 77, for your suede headliner install. This adhesive creates a strong bond and dries quickly, which is essential for a lasting result. Shake the can well and apply the adhesive to both the headliner board and the back of the suede fabric.
Hold the can 6–8 inches from the surface.
Spray in even, overlapping strokes.
Allow the adhesive to become tacky for 3–5 minutes before you start the next step.
Note: Always follow the instructions on the adhesive label for drying and curing times. Proper curing is critical for a successful install guide.
Common adhesive failures can ruin your suede headliner install. You can avoid these problems by following these steps in the install guide:
Clean and prepare the headliner board thoroughly.
Remove all dust, oil, and debris before spraying adhesive.
Work in a well-ventilated area with stable temperature and humidity.
Avoid high humidity, which can cause suede to absorb moisture and affect the bond.
Let the adhesive cure fully before reinstalling the headliner.
Attach and Smooth Fabric
Begin attaching the suede fabric at the center of the headliner board. Press the fabric gently onto the tacky adhesive. Work your way outward, smoothing the fabric as you go. This method helps you avoid bubbles and wrinkles during the install.
Use a roller or your hands to apply even pressure.
Smooth out any bubbles or wrinkles as you move toward the edges.
Take your time and do not rush this step.
Tip: Ask a friend to help you manage the fabric. Suede can stick quickly, and having an extra set of hands makes the install guide much easier to follow.
You want a tight, smooth finish for your suede headliner install. Apply gentle, even pressure and check your progress often. If you see a bubble or wrinkle, lift the fabric gently and reposition it before the adhesive sets.
Trim and Finish Edges
Once you have attached the fabric and smoothed it out, let the adhesive cure as recommended by the manufacturer. Do not rush this step in the install guide. Proper curing prevents sagging and ensures a long-lasting suede headliner install.
After the adhesive has cured:
Use a sharp utility knife or scissors to trim away excess fabric.
Cut around holes for lights, handles, and visors with care.
Tuck the edges of the suede under the board for a clean, finished look.
Note: Maintain proper environmental conditions during the install. High humidity can damage suede and cause color fading or mold. Low humidity can make suede brittle.
A well-executed suede headliner install will not sag if you use quality adhesive and allow it to cure fully. This install guide helps you avoid common mistakes and gives your car a premium, custom look.
Suede Headliner Install Guide Quick Reference Table
Step | Key Actions | Tips for Success |
|---|---|---|
Cut Suede Fabric | Measure, mark, and cut with extra allowance | Use stretch suede for easier install |
Apply Adhesive | Spray both surfaces, wait for tackiness | Follow label for drying/curing times |
Attach & Smooth | Start center, smooth outward, use roller | Work slowly, avoid bubbles and wrinkles |
Trim & Finish Edges | Trim excess, cut holes, tuck edges | Let adhesive cure fully before reinstall |
Following this install guide step by step will help you achieve a flawless suede headliner install. Take your time, use the right materials, and enjoy the results of your diy project.
Reinstall and Final Tips
Reinstall Headliner Board
You have reached the final step in your suede headliner install. Carefully lift the headliner board and position it inside your car. Align the board with the marks you made earlier in the guide. Secure the board by reinstalling the trim pieces, handles, visors, and lights. Work slowly to avoid damaging the new fabric. If you need help, ask a friend to hold the board while you attach the first screws. This diy project requires patience, so do not rush this step.
Final Checks
After you finish the install, inspect every part of your suede headliner install. Check that all accessories fit correctly and that the fabric sits tight against the board. Run your hands over the surface to feel for any loose spots or bubbles. If you find any issues, gently press the fabric back into place. Use a roller if needed. This guide helps you catch small problems before they become bigger ones.
Tip: Let your car sit with the windows cracked open for a few hours. This helps the adhesive cure and removes any lingering odors from the diy install.
Tips to Avoid Mistakes
You want your diy suede headliner install to look professional. Follow these tips from the guide:
Always use high-quality adhesive for every install.
Double-check your measurements before you cut or drill.
Allow enough time for each step to avoid rushing.
Keep your workspace clean during the diy process.
Ask for help if you feel unsure about any part of the guide.
Common Mistake | How to Avoid It |
|---|---|
Rushing the install | Take your time with each step |
Using cheap materials | Invest in quality for diy |
Skipping prep | Follow the guide closely |

A successful diy suede headliner install gives your car a custom look and lasting value. Trust the guide, follow each step, and enjoy your results.
You have completed every step in this guide for a successful suede headliner install. When you follow the guide, you remove the old headliner, prepare your workspace, and install the new fabric with care. This process gives your car a premium look and increases comfort. Many DIYers report that the right guide and quality materials make the suede headliner install easier and faster.
Benefits of a suede headliner install:
Increased resale value
Faster, frustration-free install
Share your results or ask questions if you need more help. Take pride in your suede headliner install and enjoy your upgraded interior.
FAQ
How long does it take to install a suede headliner?
You can expect the process to take 3 to 6 hours. The time depends on your experience and the size of your vehicle. Preparation and careful work help you achieve a professional result.
Can you reuse the old headliner board?
Yes, you can reuse the old board if it remains in good condition. Make sure you clean and repair it before applying the new fabric. A damaged board may affect the look of your re-upholstered headliner.
What is the best way to clean a newly re-upholstered headliner?
Use a soft brush or a vacuum with a brush attachment. Avoid harsh chemicals or soaking the fabric. Lightly brush the surface to keep your newly re-upholstered headliner looking fresh.
Will the suede fabric sag over time?
If you use high-quality adhesive and allow it to cure fully, the suede fabric should not sag. Proper installation and regular checks help maintain a tight, smooth finish.
Can you install a suede headliner without removing the board?
You should always remove the board for the best results. Installing fabric inside the car can lead to wrinkles and poor adhesion. Removing the board gives you better control and a cleaner finish.
