


Are you ready to master sewing microsuede? You might think sewing microsuede is tricky, but you can handle it. Sewing microsuede gets easier with patience. If sewing microsuede has frustrated you before, you’re not alone. With the right approach, sewing microsuede will feel simple and rewarding.
Sewing Microsuede Without Frustration This Year
Use a ballpoint needle and polyester thread for sewing microsuede. This combination prevents snags and ensures strong seams.
Always wash and dry your microsuede before cutting. This step helps maintain the fabric's shape and prevents surprises during sewing.
Baste tricky areas and hold the fabric taut while sewing. This technique keeps seams straight and prevents slipping.
Sewing Microsuede: Tools and Preparation
Needles and Thread for Sewing Microsuede
You want your sewing machine to glide through synthetic suedes. Start with a ballpoint needle. This type of needle slips between the fibers instead of piercing them, so you avoid snags. Choose a polyester thread for strength and flexibility. Cotton thread can break or stretch out, but polyester holds up well with synthetic suedes. If you want your seams to blend in, match your thread color to the fabric. For topstitching, try a slightly thicker thread for a bold look.
Presser Feet and Interfacing Choices
Synthetic suedes can stick to your presser foot or shift as you sew. You can switch to a roller or non-stick presser foot to keep things moving smoothly. A flat presser foot also works well for most projects. When you need extra structure, fusible interfacing is your friend. Pick a lightweight, woven interfacing that matches the fabric characteristics of your synthetic suedes. Always test a scrap first to make sure the heat does not damage the fabric.
Tip: Use a pressing cloth when fusing interfacing to synthetic suedes. This protects the surface from shine or melting.
Washing and Cutting Synthetic Suedes
Before you cut, wash your synthetic suedes to prevent surprises later. You can machine wash on a gentle cycle with cold water and mild detergent, or hand wash in cold water. Lay the fabric flat to dry. This step keeps the fabric from stretching or losing its shape. While the fabric is still damp, reshape it gently to help it keep its original form. Avoid wringing or twisting. When you cut synthetic suedes, use sharp scissors or a rotary cutter for clean edges. Handle the fabric gently to avoid stretching.
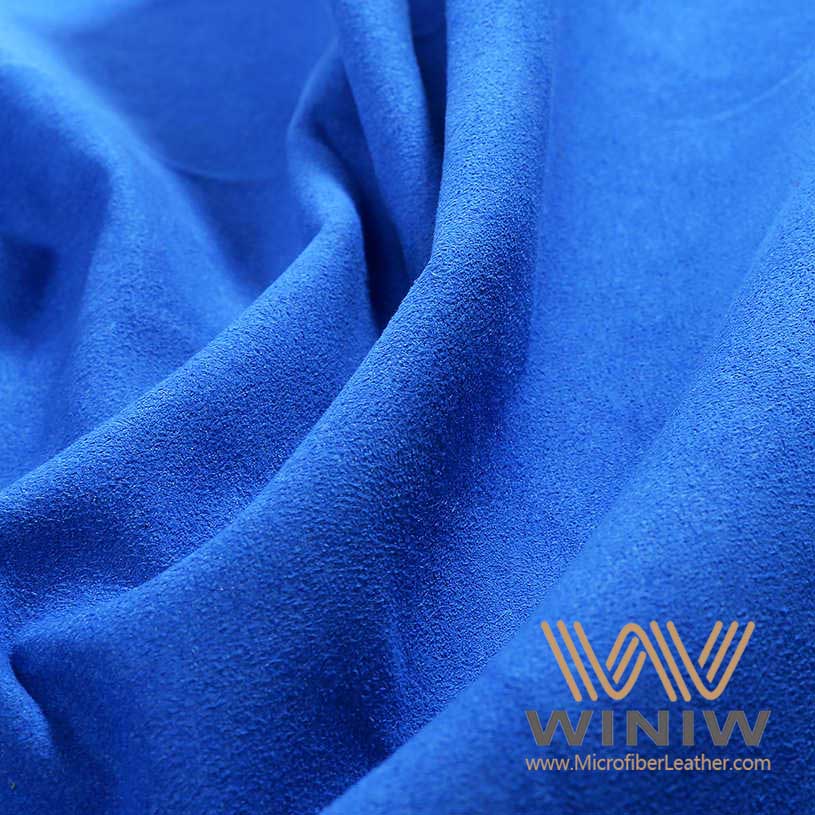
Synthetic suedes offer a soft feel and easy care, but they need a little attention before you sew. With the right tools and preparation, you set yourself up for a frustration-free project.
Micro Suede Sewing Tips: Techniques and Troubleshooting
Basting and Holding Microsuede Taut
You want your seams to stay straight and smooth. Basting helps you get there. Hand-baste tricky areas with long, loose stitches before you sew them on your machine. This keeps layers from shifting. If you prefer, use fabric clips instead of pins to avoid leaving marks on synthetic suedes. When you sew, hold the fabric gently but keep it taut. Don’t stretch it—just guide it so it feeds evenly under the presser foot. This prevents “creep,” where the top layer moves faster than the bottom. For long seams, pause every few inches to check your alignment.
Tip: Use sharp pins for thick microsuede. They pierce the fabric cleanly and don’t snag the surface.
Stitch Length, Tension, and Seam Finishes
Getting the right stitch length makes a big difference. Set your machine to a 2.5mm stitch length. This setting helps you avoid puckering and keeps your seams looking neat. If you notice the fabric gathering, check your thread tension. Start with the upper thread and make small adjustments until the seam lies flat.
Finishing your seams matters, too. Microsuede doesn’t fray as much as some fabrics, but a clean edge always looks better. Here are some popular seam finishes:
Pinked seams: Use pinking shears for a zig-zag edge that resists fraying.
Zig-zag stitches: Run a zig-zag stitch along the edge for extra security.
Serged seams: A serger trims and finishes the edge in one step.
French seams: Encase raw edges for a polished look, especially on delicate projects.
Bias-bound seams: Cover the edge with bias tape for a professional finish.
Try a few on scraps to see which one you like best for your synthetic suedes.
Fixing Slipping, Puckering, and Skipped Stitches
You might run into a few bumps while sewing synthetic suedes. Slipping, puckering, and skipped stitches are common, but you can fix them.
Skipped stitches often happen when the needle doesn’t catch the bobbin thread. Make sure you use the right needle type and size. Micro point or microtex needles work well for synthetic suedes. If you still see skips, change your needle—it might be dull or bent. Rethread your machine and bobbin, then try again.
Puckering shows up as wrinkles along the seam. This usually means your tension is too high or your stitch length is too short. Adjust the tension, starting with the top thread. Use a 2.5mm stitch length to keep things smooth. If the fabric still puckers, try a walking foot or lower the presser foot pressure.
Slipping happens when layers move out of place. Hold the fabric taut and use a non-stick or walking foot. Baste layers together before sewing the final seam.
Here’s a quick troubleshooting table for common issues:
Problem | What to Check/Do |
|---|---|
Skipped Stitches | Change needle, use microtex/micro point, rethread machine, slow down, check thread |
Puckering | Adjust tension, use 2.5mm stitch length, try walking foot, check needle/thread |
Slipping | Baste layers, use walking/non-stick foot, hold fabric taut |
Note: Always use high-quality polyester thread with synthetic suedes. Cheap thread can cause more problems.
Care and Storage for Sewing Synthetic Suedes
After you finish your project, you want it to last. Synthetic suedes are easy to care for, but a few habits help them look their best. Wash finished items in cold water on a gentle cycle. Skip the dryer—air dry flat to keep the shape. If you need to press seams, use a pressing cloth and low heat. Test on a scrap first, since too much heat can damage the pile.
Store your projects away from direct sunlight to prevent fading. Fold them loosely or hang them to avoid creases. If static becomes a problem, use a fabric spray or a dryer sheet to tame it.
Tip: Synthetic suedes can sometimes hold onto static. A quick swipe with a damp cloth helps reduce cling.
You might notice that some synthetic suedes feel different than others. Quality varies, so choose the best you can for a soft, comfortable finish. If you care about the environment, look for recycled options or limit how often you wash to reduce micro particle release.
With these micro suede sewing tips, you can tackle your next project with confidence. Troubleshooting gets easier when you know what to look for, and your finished pieces will look and feel great.
You can sew synthetic suedes without frustration if you follow a few key steps. Try these expert tips for smooth results:
Test swatches before starting.
Make a muslin for tricky projects.
Use similar fabrics for practice.
Adjust and take notes.
Keep your tools sharp.
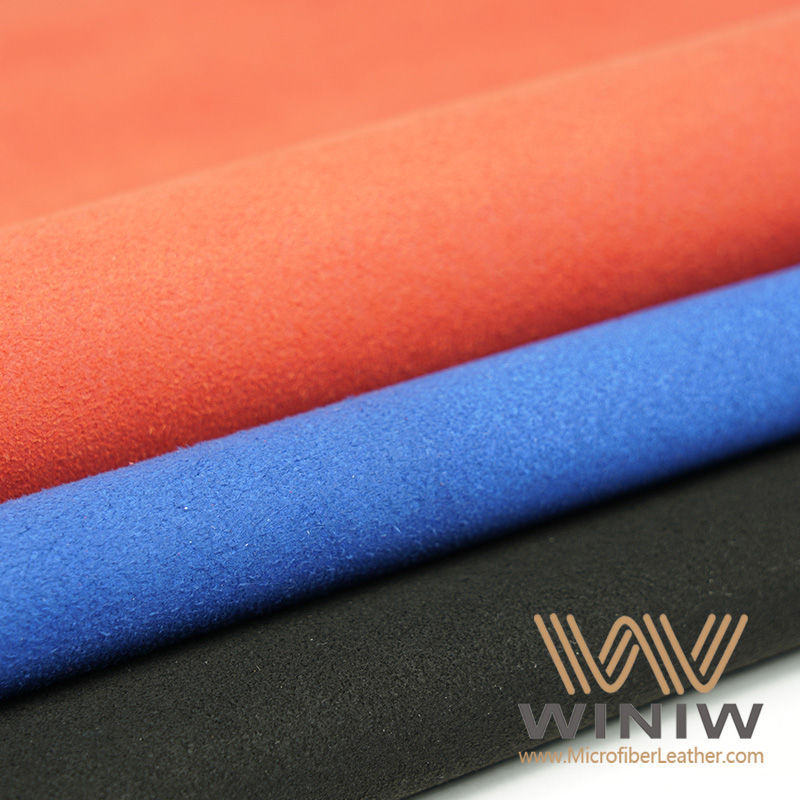
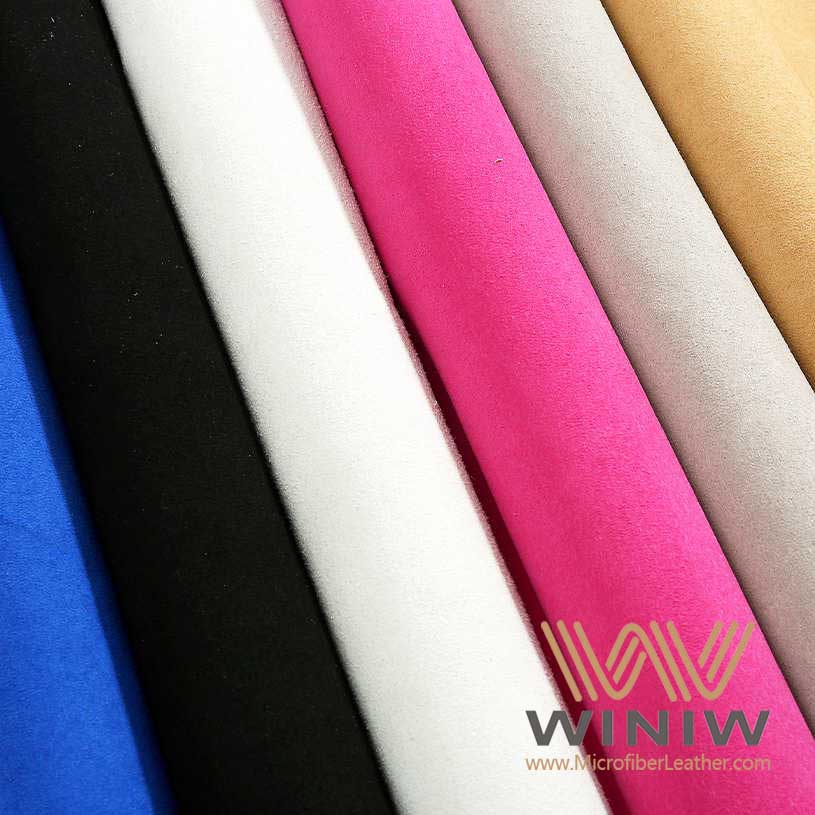
Synthetic suedes feel soft, resist stains, and show off bright colors. Sewing synthetic suedes gets easier with patience and the right tools. You can enjoy your projects and create beautiful things with synthetic suedes.

FAQ
Can you iron microsuede?
Yes, you can. Use a low heat setting and a pressing cloth. Test on a scrap first to avoid damaging the fabric.
What is the best way to mark synthetic suede?
You can use tailor’s chalk or a washable fabric marker. Avoid pins that leave holes. Test your marking tool on a scrap.
How do you fix a mistake when sewing microsuede?
Remove stitches gently with a seam ripper. Work slowly to avoid tearing the fabric. Press lightly to smooth out needle marks.
